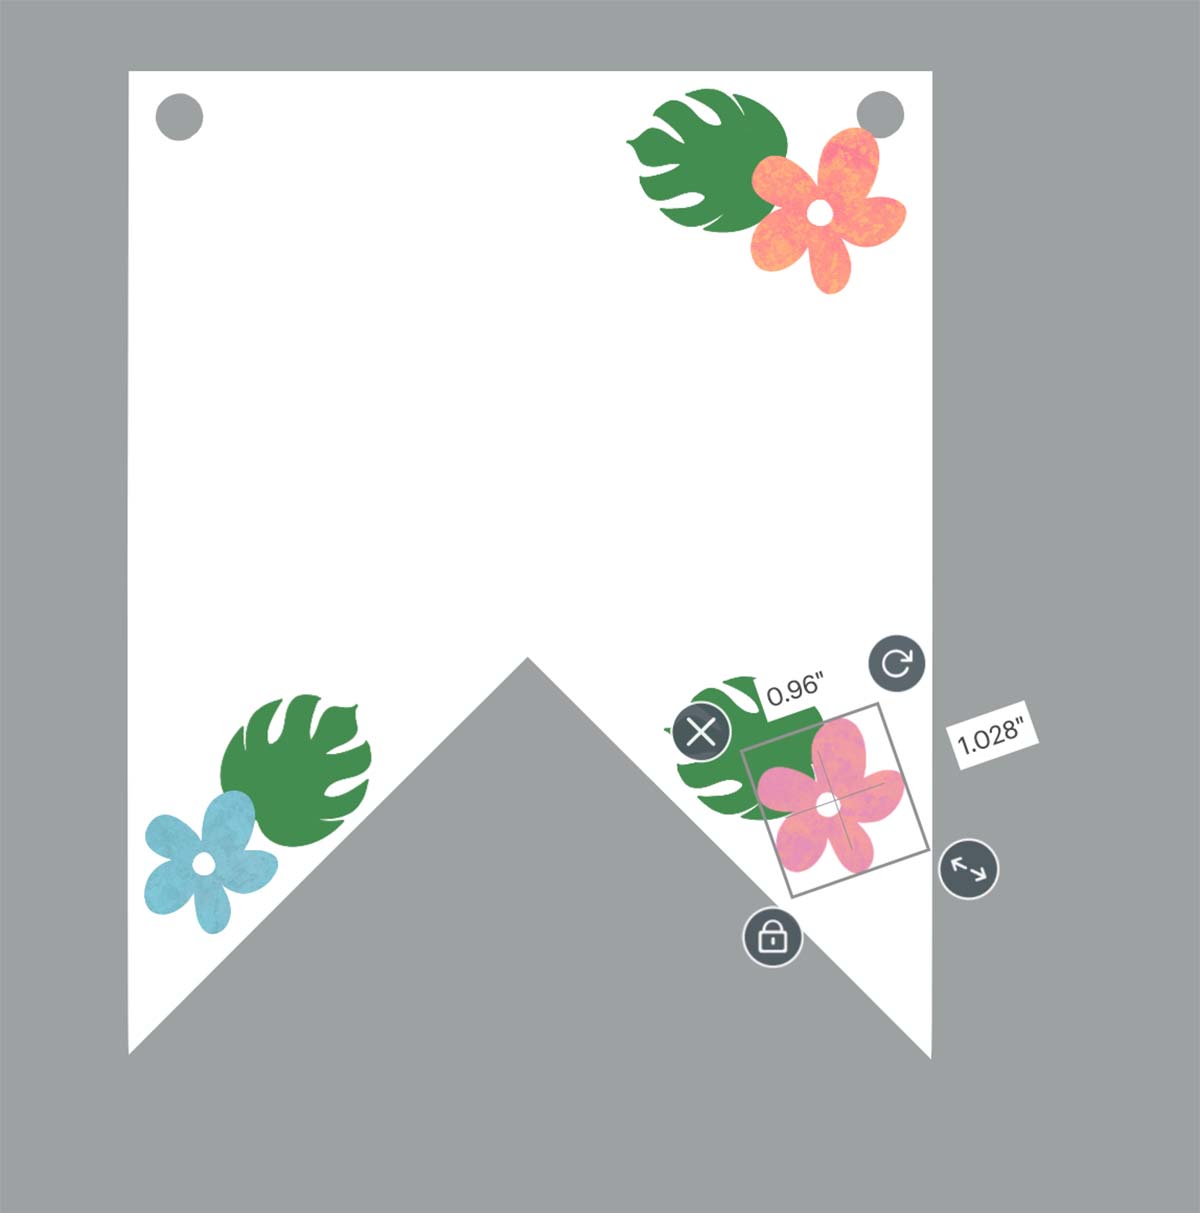
Print and Cut is a versatile tool for enhancing your Cricut projects. With the help of this feature, you can create bookmarks, greeting cards, printed stickers, and many more. To explore these possibilities, knowing how to use Print and Cut on Cricut is essential. If you are not familiar with it and want to use this tool, continue reading the write-up for a full guide.
The Print and Cut tool in the Design Space app requires an inkjet printer. Make sure that your printer is compatible with your operating system; for example, if you are using a mobile with the Cricut app, choose a compatible printer that can add to your mobile wirelessly. This setup process ensures smooth work and allows you to print directly from the app for your DIY projects.
Tools and Supplies for Your Cricut Project
Before you learn how to Print and Cut on Cricut, it is crucial to know about the materials required to use this tool effectively. Here are all the items you will need: sticker paper, standard paper, holographic, sticker paper, magnetic paper, printable vinyl, a4 cardstock, and medium-colored paper.
- Printer: It is essential when using the Print and Cut tool. You can pick any inkjet printer for this purpose, but ensure it’s compatible with your device and can be easily connected.
- Device: To work on any Cricut project, you will need a device to connect the machine to it. This can be a phone or a computer.
- Cricut Design Space: Download the app on your device; it’s essential for all Cricut projects. Here, you create or select designs for cutting.
- Cricut machine: After you print the design, use a Cricut machine to cut it. Options are Explore 3, Maker 3, Maker, and Explore Air 2.
- Cutting mat: Place your printed material on a mat before inserting it into the machine.
Important Note: After collecting all the supplies, start by setting up your Cricut machine. Connect it to a power source, turn it on, and then connect it to your device. Download the Cricut Design app, and you are ready to start. Ensure your printer is also connected for Print and Cut projects.
How to Print and Cut on Cricut: 4 Easy Steps
Once you know about the materials and gather all the tools for your projects, you are set to begin.
Step 1: Choose a Design in the Cricut App
To start a Print and Cut project, your first step is selecting a design. Cricut provides access to a vast gallery where you can find thousands of pre-made options. Just browse through and pick one that suits your project.

Apart from picking the designs from the app, you can also import designs from external sources. Whether it’s from other design apps like Canva, your computer’s library, or the internet, uploading these designs to Cricut Design Space is easy.
Step 2: Print Using the Compatible Printer

When your design is complete, you can print it using your printer. Make sure that the printer is connected to a power source and linked to your device. After adjusting the design to your desired size and shape in the Cricut software, click on “Make It.” Before that, you have to load the printable material into the printer’s paper tray. Then, upon clicking “Make It,” the printer will automatically start printing the design onto the material.
Step 3: Start Cutting With Your Cricut Machine
After finishing the printing, you can cut the printed material using your Cricut machine. Place the material on a cutting mat and insert it into the machine. Start the cutting process, which will be completed quickly. When you complete the cutting, remove the material from your machine.
Step 4: Finish Your Project

Lastly, remove the material from your Cricut machine and use a weeding tool to peel away any unwanted remnants of the design. Your project is now complete, thanks to the Print and Cut tool.
Conclusion
Now that you have finished reading the blog, you have learned everything about how to Print and Cut on Cricut. You can now easily work on any project like this. Simply gather your supplies and set up your Cricut machine. When you set up the machine, choose or upload a design in the Cricut Design Space app. After that, use the Print and Cut feature in the app, and your project will be ready quickly.
FAQs
Can I Use Print and Cut on My Android Phone?
No, you cannot use the Print and Cut tool on the Cricut Design Space app if you are using an Android mobile device. This feature is only available for iPhone smartphones. Fortunately, you can also use it on Windows and Mac computers.
What Cricut Machine Can I Use for Print and Cut?
You can use most Cricut machines with the Print and Cut feature, such as the Cricut Maker, Maker 3, Explore Air 2, Explore 3, and Venture machines. Just note that the Print and Cut tool does not work with the Cricut Joy machine.
What Printer Is Good for Using the Print and Cut Tool?
You need an inkjet printer to print with the Cricut Print and Cut tool. Some of the brands like Canon, Brother, Epson, and HP are suitable choices. Make sure to use an inkjet printer, as other types of models won’t work with this Cricut feature.