Wants Know ‘how to setup Cricut Explore Air 2‘. Worry not! This guide has all the answers regarding the machine’s setup.
Cricut Explore Air 2 is a worthwhile cutting machine that is still the first choice of crafters. However, before you start using the machine, you must set it up. I will walk you through the step-by-step process of connecting the device via Bluetooth/USB and installing the Design Space app to complete the setup process. With the help of this complete guide, you will be able to connect your machine to a computer and smartphone without any hassle.
Setup Cricut Explore Air 2 on Your Computer
If you would like to use your machine wirelessly to a PC, then you need to establish a Bluetooth connection and download the app. Below are the steps you need to follow for that.
Step 1: Establishing the Bluetooth or USB Connection
- First and foremost, connect your cutting machine to an electric socket and then turn it on. (also, make sure to keep the device near your computer device.)
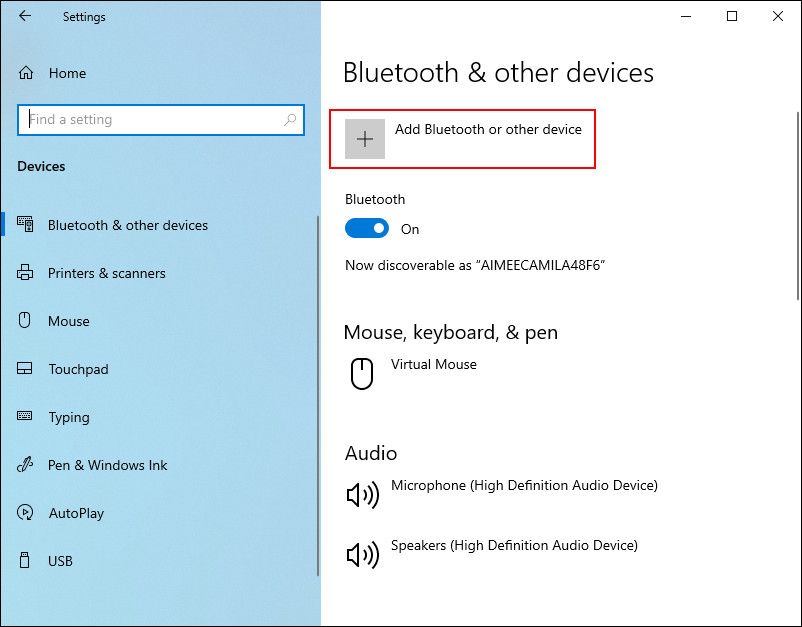
- After that, go to the Devices page and access the Settings window on your PC.

- Next, turn the Bluetooth toggle on if it is off and then click on the “+Add Bluetooth or other device” option.
- Now, in the next window, click on the Bluetooth option and let it detect your Explore machine.
- Once you find the model number of your crafting device on the screen, click on it.
- Also, if you see a prompt to enter the PIN, then type “0000” and select Pair to move forward.
- You will notice that your machine’s Bluetooth connection process will be complete.
Note: If you want to establish a wired connection between your PC and machine, attach them to the provided USB cable and follow the on-screen prompts.
Step 2: Completing the Setup Through Cricut Design Space
In order to setup the machine, you must get the Cricut Design Space app on your device. Below are the further setup steps that will help you complete the process.
- On the PC, which is connected via Bluetooth or USB to your machine, visit the official Cricut web page. http://cricut.com/
- On the website, go to the Apps section and click on the Download option for the Design Space app. (If the Download option is greyed out, click on the license agreement checkbox.)

- Once the download process starts, you will see a sudden change on the screen.
- Open the design app file when the download process is complete.
- When the download is complete, double-click on the .dmg file from the browser.
- Also, complete the steps on your screen to start the product installation.
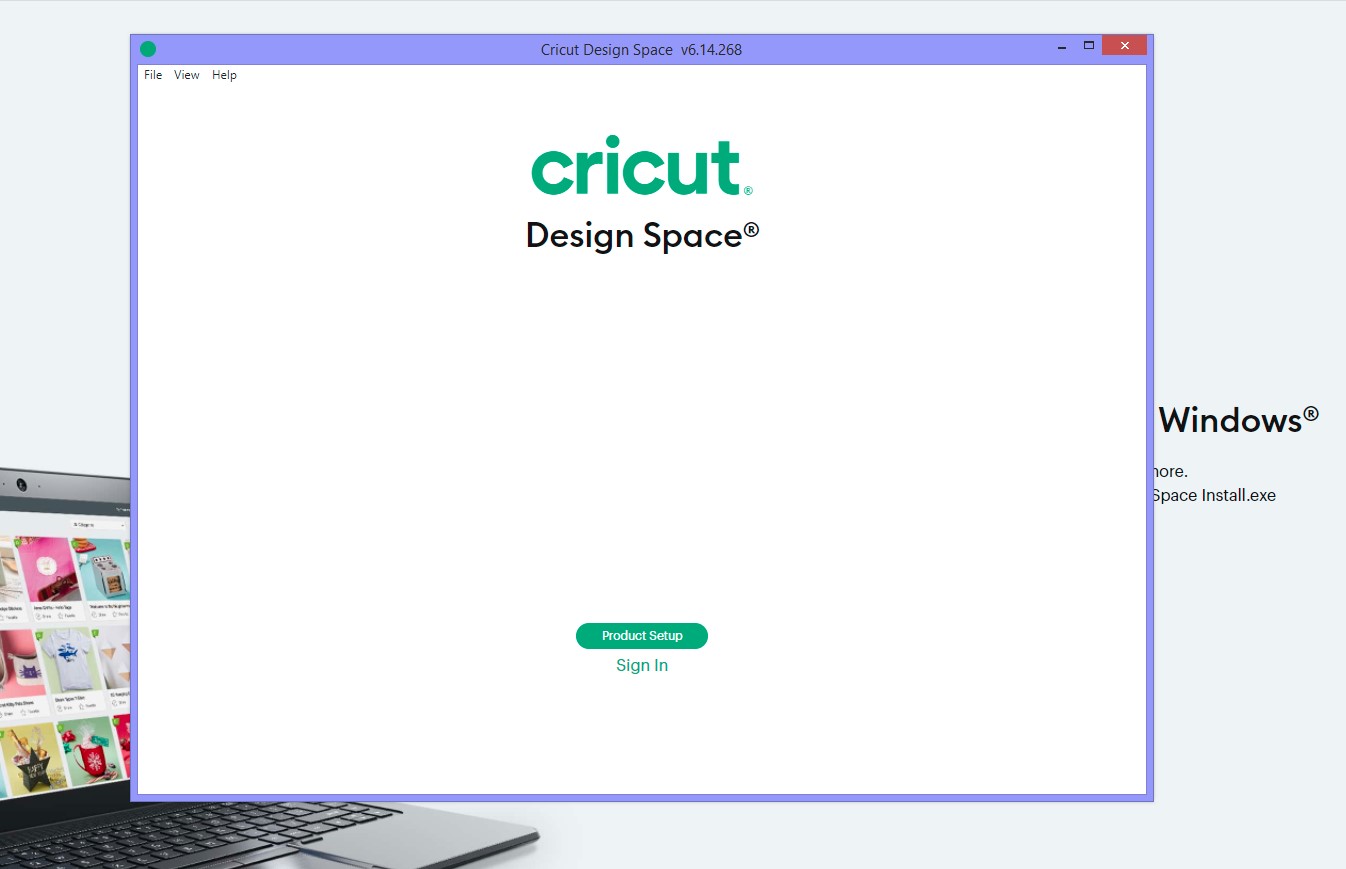
- After the installation is complete, create a new account or Sign In with your existing one.
- In the next step, select the Product Setup option and follow the steps to complete the setup.
- Here you go! You can now start using your machine to create outstanding DIY projects.
Setup Cricut Explore Air 2 on Your Mobile Phone
The following steps will allow you to add your Android or iPhone device to the Explore machine to complete the setup. Before you move to the setup process of your machine, ensure that it is within the 10-15 feet range of the phone.
Step 1: Connecting Devices Using Bluetooth/USB
- For the first step, you need to tap on the Settings function on the phone.
- From there, you need to select the Bluetooth option.
- If you find the Bluetooth toggle off, then tap on it to turn it on.
- In the next step, you need to choose the machine model name from the given results.
- When you see a prompt to enter the password, type PIN 0000 and then click OK.
- Afterward, the wireless pairing process will be complete.
- Now, you can move to the next step of the ‘Cricut Explore Air 2 Setup‘.
Step 2: Complete the Setup With Design Space
- Begin by tapping on the Google Play Store icon on your smartphone.
- On the Play Store, tap on the search section and type ‘design space,’ then tap on Search.
- From the open results, tap on the correct Cricut Design Space app option and then select Install.
- Henceforth, wait for the installation process to complete; when the installation is complete, the app will show up on the home screen.
- To launch the app, you just simply need to click on it and complete the login process.
- Moreover, select the Machine Setup option and follow the procedure to setup the device.
- Finally, you can use the device to start creating eye-catching DIY crafts.
Final Words
In this context, I have imparted all the vital information and steps beginner crafters need Know ‘How to setup Cricut Explore Air 2‘. Moreover, this method can be used to connect any machine you want to setup. Make sure you follow all the methods discussed to setup the device on your computer or smartphone. In addition, make sure the device has an internet connection and follows the system requirements to perform the process with utmost ease. Furthermore, if you encounter any issues with your device, then look for more help.
Frequently Asked Questions (FAQs)
How to Setup Cricut Explore Air 2 on a Mac?
Below are the fundamental steps you need to follow to setup the machine on a Mac.
- At the start, switch on your machine by connecting it to a power source.
- Also, place the Mac computer and machine in the close connection range (10-15 feet.)
- Then, both systems can be connected using a USB cable or Bluetooth connectivity.
- From the official brand website, download and install the Cricut design app.
- Once the download process is complete, open the app and sign into your account.
- Afterward, go through the process of setting up the machine and starting to use it.
What Are the System Requirements for Cricut Explore Air 2?
The system requirements of your machine setup change depending on the device you are trying to connect to. But here are some basic requirements every device should fulfill.
- Make sure your PC and smartphone are running on the latest OS version.
- The device must have 4 GB RAM and at least 2 GB free space.
- You need a strong and stable internet connection to download the app.
- The device must have Bluetooth connectivity or a USB port.
Why Am I Facing a Problem Setting up My Cricut Explore Air 2?
Due to a number of technical and hardware problems, you may struggle with your machine connection process. Let’s take a look at some of the most common reasons for that problem.
- The PC/smartphone device is not compatible with the machine.
- Your machine and other devices are far from the connection range.
- You are a counterfeit USB cable, or it has been damaged.
- The system OS of your device is out of date.
- Your device does not have standard network speed.